Table of contents
- Should you retouch digital photos?
- Why is your own image editing necessary?
- Tips on what to look out for when you want to sort, organize & edit digital images?
- In 6 steps to the perfectly edited photo
- The best image editing software for photographers
- Tip at the end
Not every click on the shutter is followed by a perfect image - that much is clear. Even the best photographers can sometimes take pictures with bad lighting conditions or unfavorable perspectives. But that often does not mean that the image is unusable and has to disappear in the eternal digital archives.
How to use a
photo editing softwarecorrectly to edit your digital photos, which tips you should follow when editing and which 6 free and paid tools are best suited, we will reveal to you in this article. In addition to the 6 tools mentioned, you will find many more on OMR Reviews.
Recommended Image editing programs
You can find recommended image editing programs on our software comparison platform OMR Reviews. There we have listed over 30 image and photo editing programs that offer comprehensive support in all aspects of editing and optimizing photos, images or graphics. So take a look and compare the software with the help of authentic and verified user reviews:
Should you retouch digital photos?
If you manually edit digital photos with software, you should know what you need to pay attention to. Otherwise, many tools also offer the magic wand method, which optimizes the image for you using an algorithm. However, the result is not always as desired. Therefore, we recommend that if you regularly take photos, you should teach yourself image editing. We have brought you a step-by-step guide.
For example, if you shoot images for your online store, it is important that they always look the same and the shop page does not consist of an image grid of differently exposed photos. Even if you operate with soft boxes and the same camera settings, there can be deviations. Most images are therefore already well served with color and light corrections.
The same applies to photographers who call nature or even drone photography their hobby. Here, often further editing steps are considered, as the color mood of the RAW images, for example, will need to be adjusted.
Why is your own image editing necessary?
If you regularly have a camera in your hand and want good image results, the question of whether your own image editing is necessary becomes redundant. Straightening, image section, colors, sharpness, contrast, brightness and many other detail work can only be implemented by yourself according to your wishes - however advanced automatic corrections in software may be. The effort will be rewarded with more brilliance and stronger color effects.
But don't panic: Editing digital photos yourself doesn't necessarily have to be time-consuming. Especially with product photos, you can save editing steps to apply them over and over again. Consequently, usually only minutes of work is required to get an optimal image for your online shop that does not differ from the others.
Tips on what to look out for when you want to sort, organize & edit digital images?
To make your introduction to digital image editing even easier, we have put together the following beginner tips:
- If possible, you should always use the RAW photos that your camera takes. JPG photos have the disadvantage of being already compressed and thus lose quality, which is noticeable in the post-processing of the photos.
- If you regularly have many photos to edit, make sure that the photo editing programs of your choice allow sorting. Otherwise, you quickly create chaos.
- Take enough time to familiarize yourself with a photo editing software. Most of them are somewhat more complex to learn for rookies. However, the time investment is worthwhile, as you can get the most out of your digital images once you understand their functionality.
- Ideally, you should use a photo editing program that has a large community where you can find numerous tutorials. The tips are good for beginners as well as for pros. The larger the community, the more likely you are to get help with rare problems or editing steps.
- No matter which software you want to use, it should be able to work on multiple layers; not just one, like the good old Paint from Microsoft.
Recommended editorial content
At this point you will find external content from YouTube that complements the article. You can display it with one click.
I consent to external content being displayed to me. This allows personal data to be transmitted to third-party platforms. Read more about our privacy policy.
In 6 steps to the perfectly edited photo
The following 6-step guide is designed to help you get to know and learn the most important features of a photo editing program. The guide can be applied to all the tools listed below. Only the places where you find individual functions differ from software to software. In addition, the manual is suitable for both outdoor shots and product shots - of course the values vary depending on the image.
Step 1: Align perspective
Before you start playing around with any values, you should first align your image. Especially with spontaneous snapshots, the horizon, for example, may not be aligned straight. Therefore, you have to rotate your image slightly so that it appears at a right angle.

Straighten the image by aligning lines in the image on the image edge
Step 2: Remove noise
If shots contain unwanted noise, there is usually a chance to eliminate it afterwards. For this you use predefined filters in your photo editing software. However, this only applies to light noise. Because the noise reduction filters of all common free and paid photo editing programs have one thing in common: The more strongly they are applied, the more they reduce image details.
And for advanced noise reduction, special tools are required, which considerably exceed the abilities of beginners. In such cases, it is often easier to try to take the picture again. In general, we recommend that you take several snapshots of each subject - if possible - to have a choice later.
Unwanted noise can be easily removed with most tools.
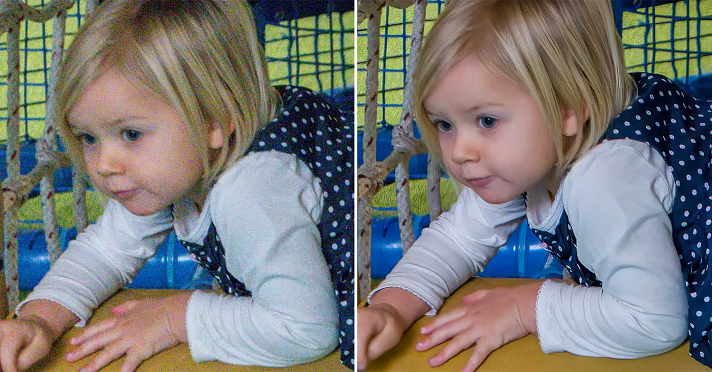
Step 3: Adjust brightness
This step will be obvious when you see your work on the screen for the first time. At first glance, you can see whether a photo was exposed too bright or too dark. In both cases, the result is not so bad. With a few clicks, you can adjust the brightness of an image. You will find the configurator for this in most photo editing tools in the menu bar under Colors or in the interface of the editing mask.
Depending on the exposure, the brightness usually needs to be adjusted in post-production.
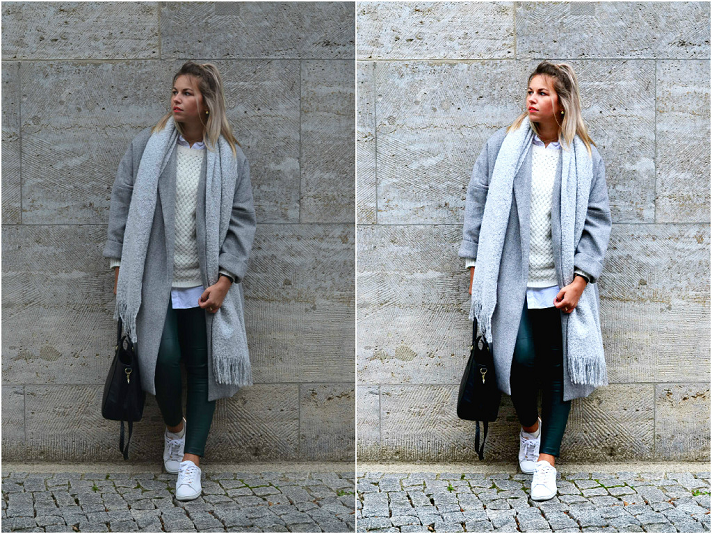
Step 4: Establish contrast
To give the colors expression, you can adjust the contrast settings. The larger the number below or above the slider, the more emphasis is placed on the image. You have to experiment to achieve a decent contrast. Also consider that while one color in the image looks great, it is too much contrast for another hue. You can play with contrast and brightness at the same time to get the perfect result.
Strengthening the contrast gives your images more power and clarity.
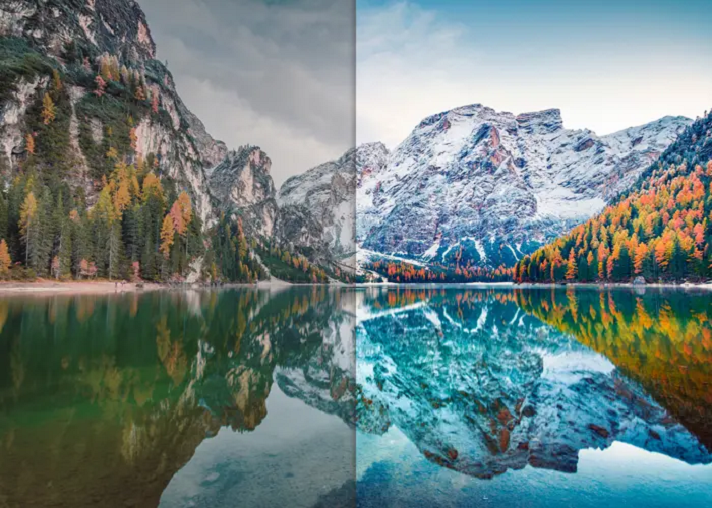
Step 5: Strengthen colors
Now you strengthen the dominant colors in the image by adjusting hue and saturation. To do this, you can initially oversaturate the image to see which color errors are present and which tones need to be specifically strengthened. With product images with typically white backgrounds, it is often enough to strengthen the background so that it shines brightly and the product in the center is visually upgraded directly - without you having to touch the tones and saturation of the product itself.
Step 6: local editing
The last step is the detail work. The previous steps were about the overall editing of your photo, now you polish up smaller areas. These can be dust particles on the lens or on the object and light errors. Clone-stamp tools are particularly suitable for this. You copy a few pixels from the area around the error to be retouched and paste it over it - the section has been cloned and it is no longer noticeable in the big picture. You will find such features in every photo editing tool. Numerous tutorials on YouTube show you the exact application in detail.
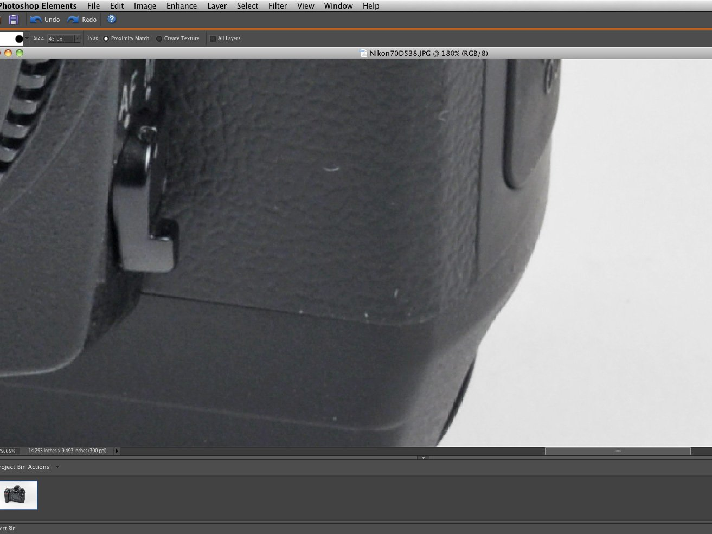
Especially with product photos, it is inevitable to fix small mistakes in the photo.
The best image editing software for photographers
There are some industry primis that most professionals resort to. But which photo editing software is the best depends primarily on your requirements. If the number of your photos is in the five to six figure range, you should already use paid photo editing software, as these enable you to sort in this order of magnitude at all.
On the other hand, some free photo editing tools can also boast powerful functions.
We present three free and paid photo editing software. You can find more on OMR Reviews. There, users share their experiences and ratings of the tools with you.
Free image editing software
- Gimp
GIMPis by far the best photo editing program you can find for free. The additional advantage: It is also easily accessible for beginners in image editing. Some training is recommended, but the basic functions are obvious to find and apply. The software also follows the open source philosophy, making it suitable for Linux, Microsoft, and Mac, and the source code is freely available.
- Paint.NET
Closely aligned with the basic idea of Gimp, is Paint.NET. Likewise open source, likewise comprehensively equipped for a free tool, however only designed for Windows. Besides all relevant functions, Paint.NET particularly has a large community formed around the free photo editing program. Hardly any question about Paint.NET remains unanswered and numerous tutorials are available for rookies.
- RawTherapee
With RawTherapeeyou can edit RAW files in Linux, Windows or macOS. Numerous tools are at your disposal to create the perfect image from your snapshot step by step. The image editing tool uses various algorithms to deliver optimal results at the click of a button. RawTherapee is especially suitable for detailed work.
Paid photo editing software
- Adobe Photoshop
When we talk about paid photo editing software, the first one to be mentioned is Adobe Photoshop. The software, which created the synonym 'photoshopped' for an edited image. But like most Adobe products, Photoshop also has everything to offer that you need, but it's not learned in an hour. First you have the opportunity to test Adobe Photoshop. After 7 days, you can then subscribe. Prices start at 24 Euros per month.
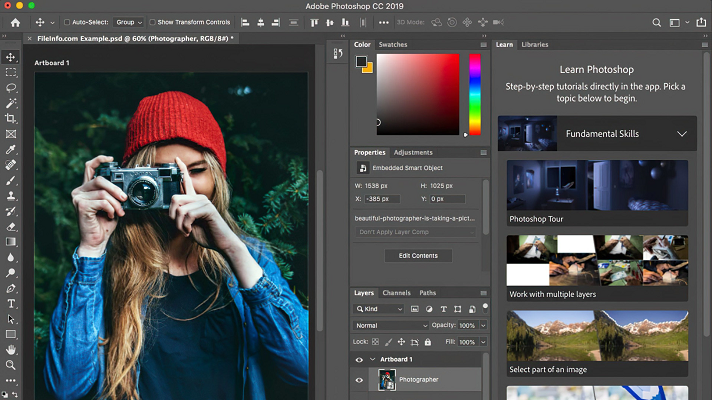
Adobe Photoshop is probably the most popular image editing tool, but quite complex to learn.
- Capture One Pro
Also playing in the top league is Capture One Pro. This photo editing software stands out due to numerous presets, a before/after view as well as a dehaze function. In addition, Capture One Pro is also equipped with all important features - even those that professionals use. In terms of price, Capture One Pro is in the same range as Photoshop: in a monthly subscription for 29 euros, in a yearly subscription for 219 euros, or as a one-time license for 349 euros
- Affinity Photo
Last, but not least, let's introduce you to Affinity Photo. The emphasis of this image editing tool is on retouching. So it is optimally suited for post processing RAW files in detail to get a perfect image. Additionally, you find features like HDR combination, montage of panorama images and editing of 360° images in the toolbox of Affinity Photo. The program is available for Mac and Windows. Prices for Affinity Photo start at a one-time 55 Euros.
Tip at the end
As a little special tip, we can recommend
Canva. Although the design software mainly focuses on graphic products for social media channels, it also has some tools that allow you to retouch photos, share them with others, and sort them. If that fits your requirements, Canva is an optimal solution for beginners and pros who like to post their edited photos at various points on the net.
You can find more photo editing software on OMR reviews - independently rated by other users.


